This blog is my playground
I started this website to establish my web presence on the holy internet. I wanted to keep a portfolio of my projects and to blog about random stuff (very rarely). Back then, I was only used to post articles whenever I feel like. But then, something’s changed.
- The beggining
- Designed a logo
- Made design-related decisions
- Learned CSS grids
- Implemented search functionality
- In closing
The beggining
To begin with, I’ve set up this blog using this Jekyll theme called Jekyll Now. I chose it mainly because…
- It’s a very minimal looking blog theme just how I like.
- Easy to setup.
- It’s really easy to host it on GitHub Pages as I didn’t want to spend money on hosting my blog (at least in the intial days of the blog).
Back then, the blog used to look like this.
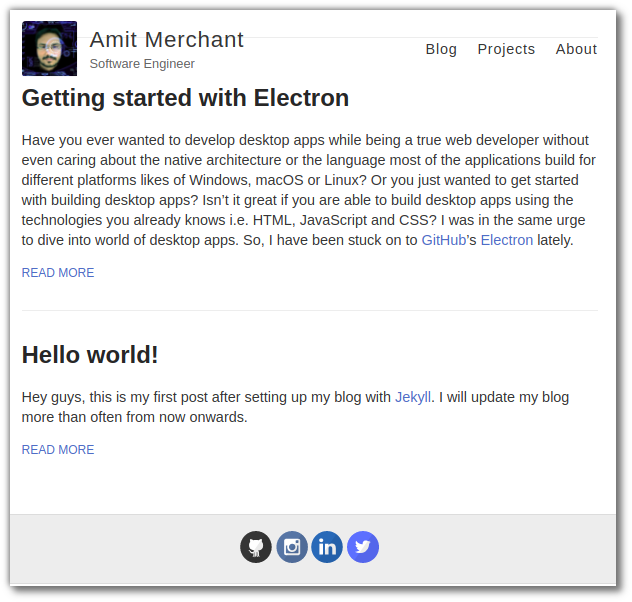
This is how it looked like in 2016
Nothing fancy there, no? Just a photo of me(posing as an Iron Man) as a logo, a few pages including About and Projects pages and a couple of blog posts and that’s about it! In other words, “Pretty bland”.
But then from late 2018, I’ve started improving the overall experience of the whole blog and started blogging more often at the same time. Of course, all these happened incrementally.
Designed a logo
I’ve, first of all, designed this logo which I think helped establish this blog kind of like a brand. The logo that you currently seeing is the one I’ve designed 2 years ago. I’ve designed it using an app called Inkdrop. I’m no graphic designer. But trust me, if you really want to do something, you’ll find the way. I looked up to a couple of YouTube tutorials about designing a logo using Inkscape. I followed those and I ended up with this beautiful logo which I’m using ever since.
This way I learned the tid-bits of graphic designing.
Made design-related decisions
Then I began with overhauling the design of the blog. I wanted to give a unique accent to it so I’ve experimented with different color schemes to make the design more vibrant and playful. I ended up with the purple-pink color combination which matched with the logo’s colors.
The theme I was using was pretty simple. Not that this is a bad thing, but I wanted more. For instance, the theme lacked pagination. So, I looked for the solution. Turned out, there was already a Jekyll plugin called jekyll-paginate for GitHub Pages that I needed to add in the _config.yml of the theme. I added it and there I have a nice pagination system setup for my blog.
Then I wanted to make some of the things available on each page. To do is, I would need a two-column layout. And so, I’ve converted this blog from a single-column layout to having a 2-column layout.
The point here is, I’m my own boss when it comes to take decisions for my blog. There’s no one who would validate and judge my ideas and that gives me freedom to tweak the design however I want.
Learned CSS grids
I read a lot of great blogs around the web and I draw a lot of design inspiration from the great blogs such as CSS-Tricks, Alligator.io, Smashing Magazine and so forth. I try to emulate some of the nice design elements from these sites. For instance, there’s this nice grid of “Top Posts” on the homepage of Alligator.io. Because…
“Imitation is about copying. Emulation is when imitation goes one step further, breaking through into your own thing.” - Steal Like an Artist
I wanted to implement a similar kind of grid on my blog. So, I got to learn about CSS grids in the process and implemented the following grid on the homepage.
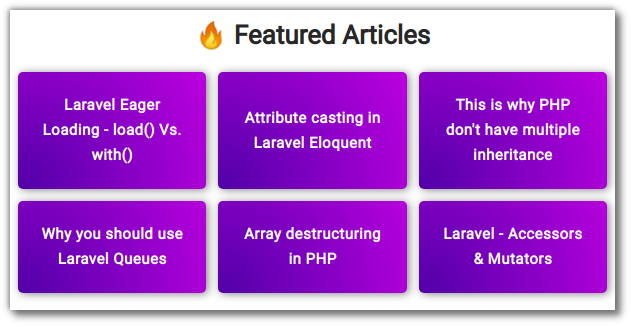
Featured Articles using CSS grid
Also, I liked the floating “Next” and “Previous” navigation links on the Swift by Sundell blog, where the links appear on each blog post can be used to go to previous or next blog posts adjacent to the current post. I liked these links mainly because it’s non-intrusive yet functional at the same time. So, I tried implementing the same on my blog with a pinch of design changes from my end. It turned out great and after implementing it, I feel the bounce rate on my blog has been reduced significantly.
Implemented search functionality
The one prominent feature that was missing on this blog was a proper search because “Jekyll Now” doesn’t comes with one. So, I decided to implement one myself. And after some brainstorming, I’ve finally able to implement the search. Upon searching the search would try to find the matching title, URL and category and would give the results accordingly.
I’ve also implemented OpenSearch along the way because that would make my blog kind of a search engine itself.
Fun fact: I extracted parts of the aforementioned features as a separate theme. The theme is called Reverie which is an extension to jekyll-now.
In closing
The entire point of this article is I’ve learned many new things while maintaining and growing this particular blog and I’m still learning. I’m improving my blog everyday by incorporating new things into it as and when I come across one.
The blog is now reaching a wider audience, so I try to keep it in sync with standards on par with the great ones in the same territory. I’m happy with the current state of the blog but I won’t miss the opportunity to improve it further if there’s a scope. Let me know if you’ve any suggestions.
Until next time!
Like this article? Consider leaving a
Tip
👋 Hi there! I'm Amit. I write articles about all things web development. You can become a sponsor on my blog to help me continue my writing journey and get your brand in front of thousands of eyes.

